The main reason why you would want to remove the side fairings is to do an 8,000 or 12,000 mile service which means checking the valve clearances or tappets, or to replace one of the exhaust pipe headers.
Park the bike on a firm surface and turn off the ignition and fuel. Remove the saddle as per the start of the pannier lid change page.
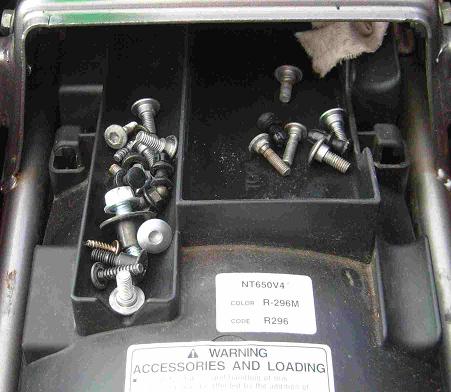
 the
Red Fox says : "A good place for nuts, bolts and fasteners
to be kept is the tool tray under the tail cone."
Remove the right hand dashboard trim as per the headlight change page.
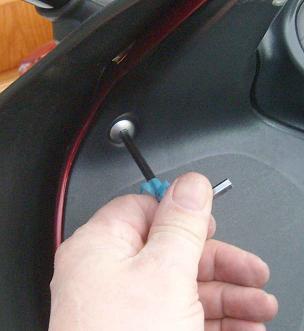
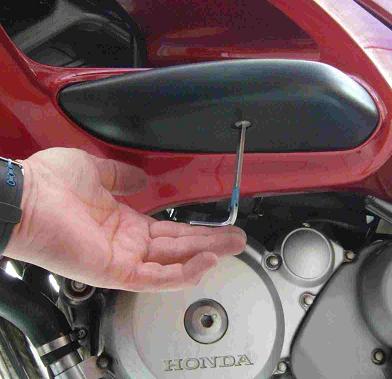
Now remove the left hand dashboard trim. Like with the right hand dash panel, there is an upper fastener too at the rearmost edge of the upper fairing. Don't lose the dome nut from the underside of this upper bolt.
If you wish to replace these bodywork bolts, the part number is "Screw, special 6mm : 90106KCZ000" at £2.25 each (March 2016) from David Silver.
Remove all the fasteners in the following photos
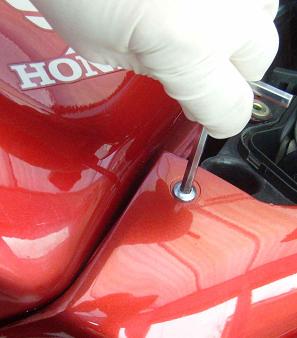
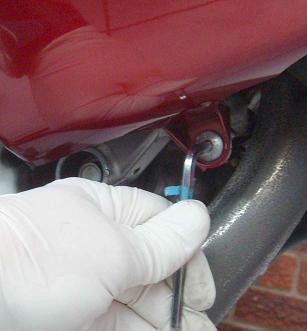
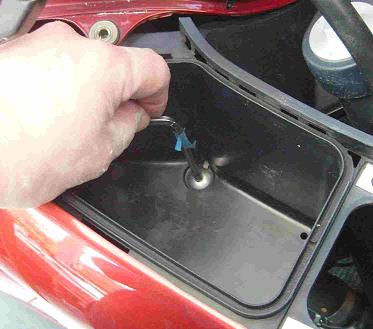


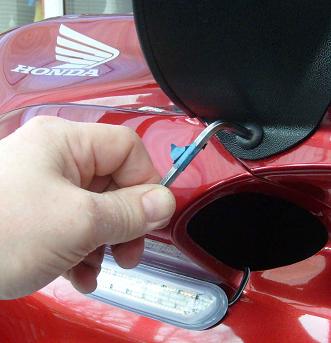
Upper right hand just above the air intake. Note the aftermarket LED indicator repeaters I have fitted.
Mid left hand side inside the air scoop.
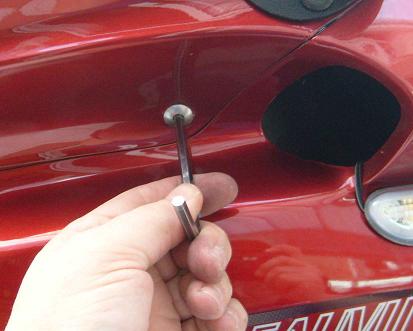
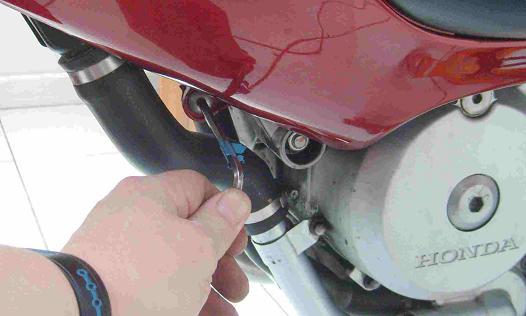
Left hand upper by the fairing pocket.
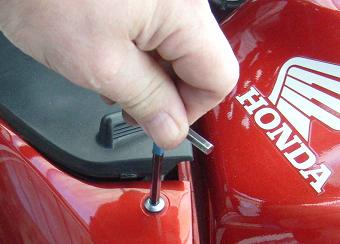
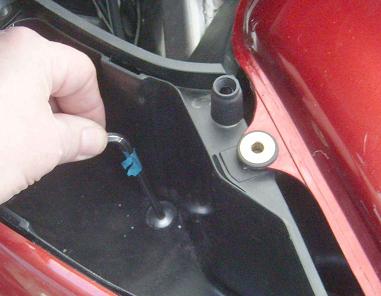
Middle left hand side just above the air intake.
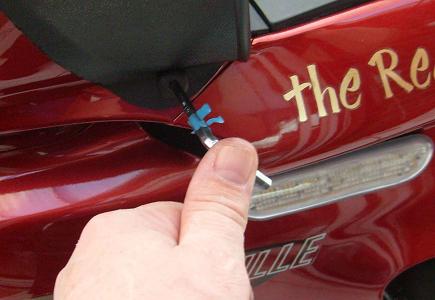
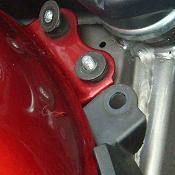
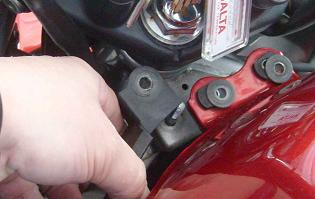
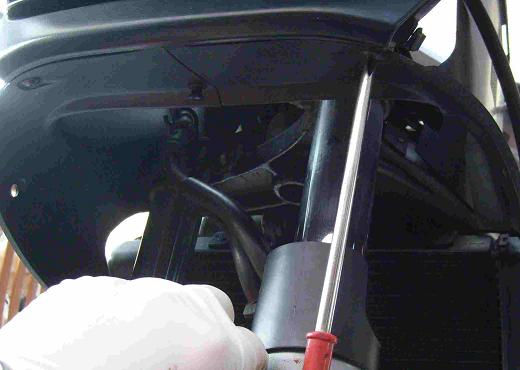
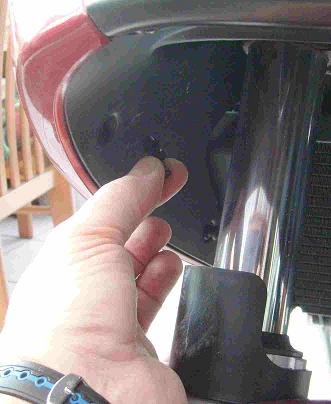
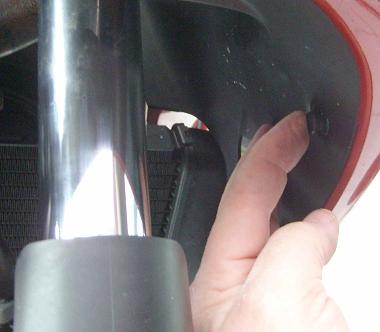
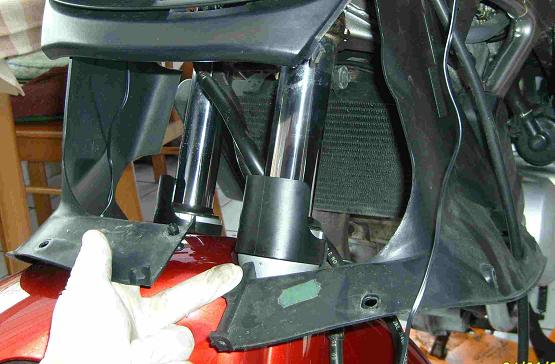
Once all the fasteners are removed, each side of the bodywork pulls off from its rubber stops. Neither panel is heavy, just an awkward shape. To avoid snapping off one of the plastic mounting tabs, support the rear of the body panel as you pull it away from the chassis.
 the
Red Fox says : "Don't force removal - if the fairing
won't come away, you have probably missed removing a fastener. If you
break off a tab, this can usually be repaired with superglue."
When the faiing sides are off it's a good opportunity to balance the carburetttors.
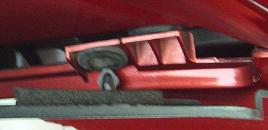
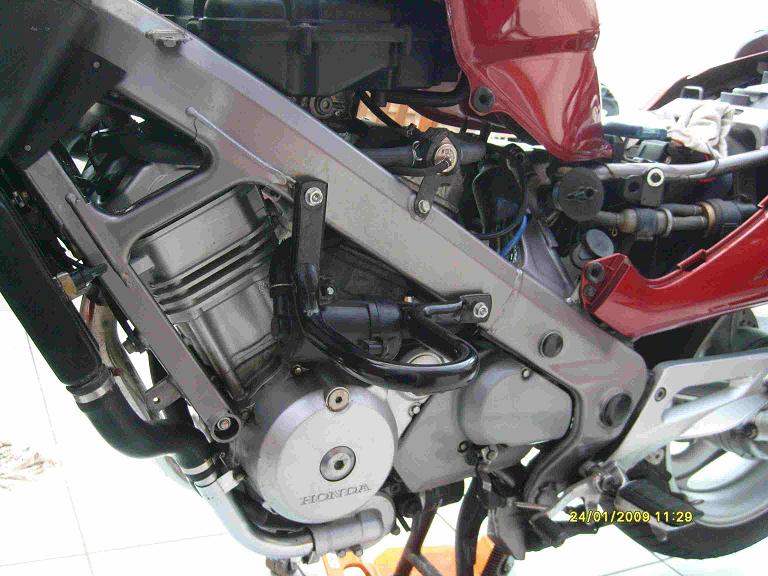
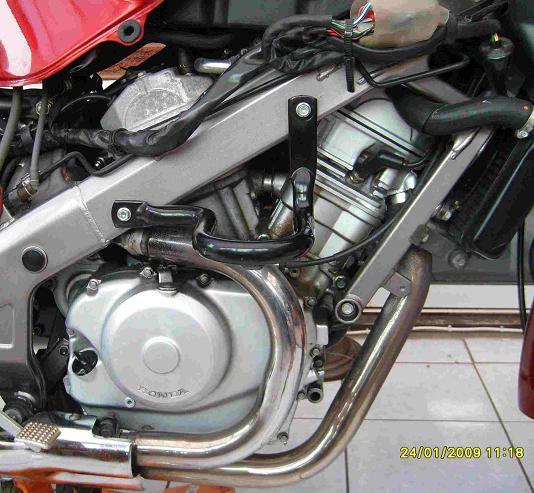
Before refitting the side fairings, replace the air filter and its box, and then replace and connect the fuel tank.
Replacing the fairing sides is not a technically complicated job, but take care not to damage the paintwork whilst you are manoeuvring the body parts into place. I suggest that you attach each side quite loosely and make sure than everything is lined up before tightening the bolts and screws and replacing the plastic tabs.
I found it best to replace the chin pieces first and then offer up each side fairing in turn. The inner face of each pocket locates into corresponding tabs at the top of the chin pieces. One point of caution - beware scratching the upper fairing's paintwork with the u-brackets at the front of the fairing sides, as you ease them into place. A second pair of hands would pay dividends at this stage to ensure that the side pieces slot into place accurately without any twisting or forcing.
Before pushing the under-chin tabs in, first pull the head or pin fully out. The push the tab through the mounting hole until the body of the tab is fully home. Then tap in the head to secure the tab in position.
You are welcome to comment on these pages but you must manually remove the extra 'z' from the email address.