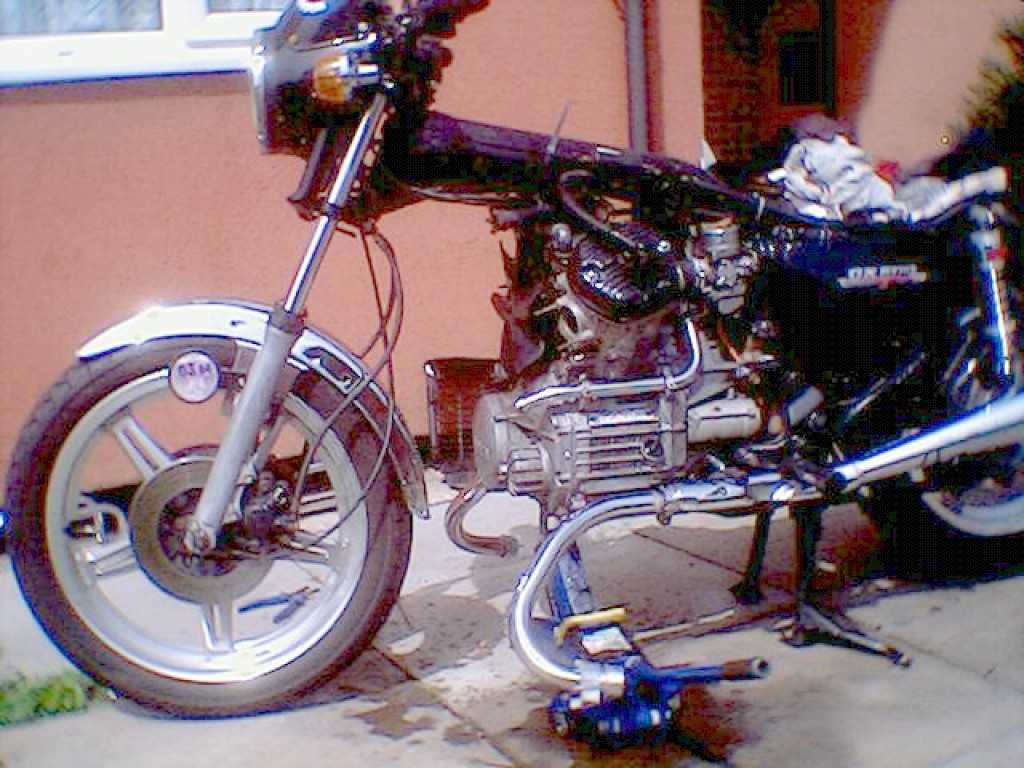
Picture (left) shows what the bike looked like before we were able to attack the actual rethreading.
Time : actually replacing the thread takes about 15 minutes each, once you can reach it.
You will need a special thread recovery kit for the size of threads in question. The kit I used was a "RECOIL" which contained the tapping tool, insertion tool and screw thread coils.
Some kits also include a small tool to snap off the bottom tang of the inserted thread, but this isn't vital.
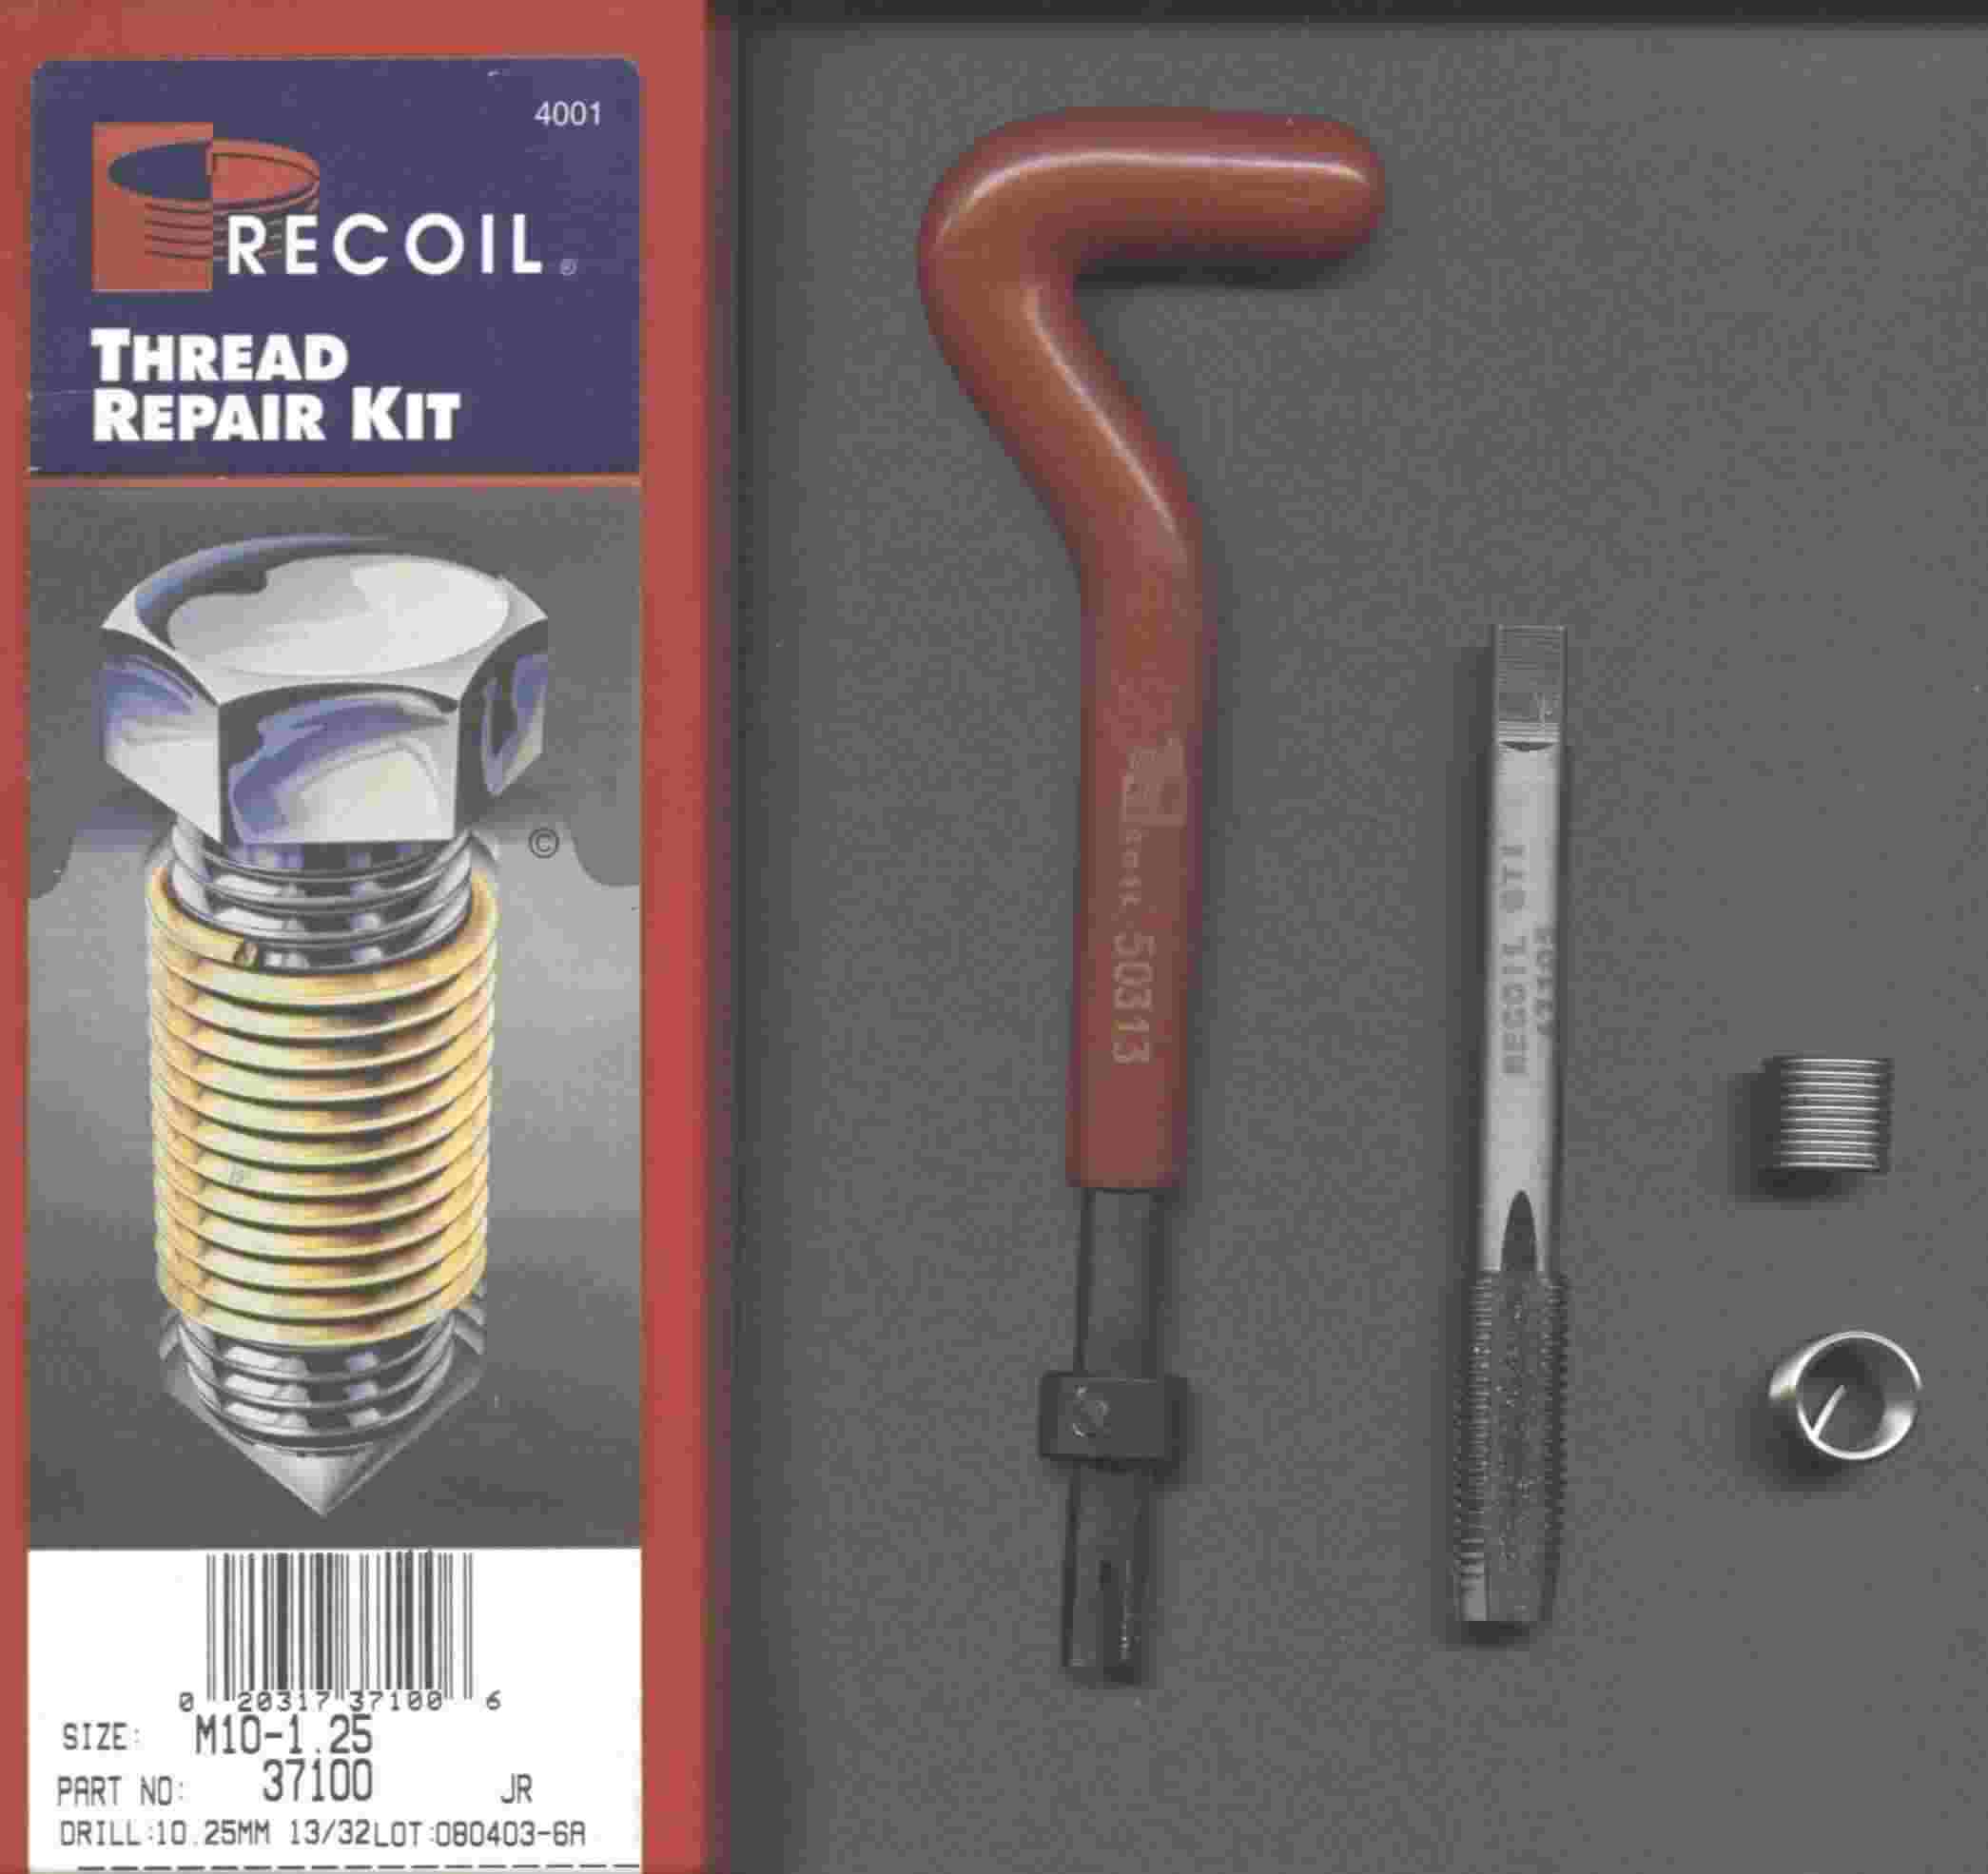

Full instructions (left) were inside the box lid.
The threads we were replacing were M10 1.25mm pitch thread for the 14mm head Honda bolts. These are also the same as the ones for the cylinder head bolts, so if you have been unfortunate enough to overtighten and strip one of these, this is the kit you need.
This page assumes that you are working on this 14mm head size bolt, so if your job is different, you need to adjust the text accordingly.
If the thread has completely stripped from the hole, and the bolt simply slides in and out, you don't need to drill out the hole. Otherwise, use a 10.25mm drill to clear out the remains of any of the old thread.
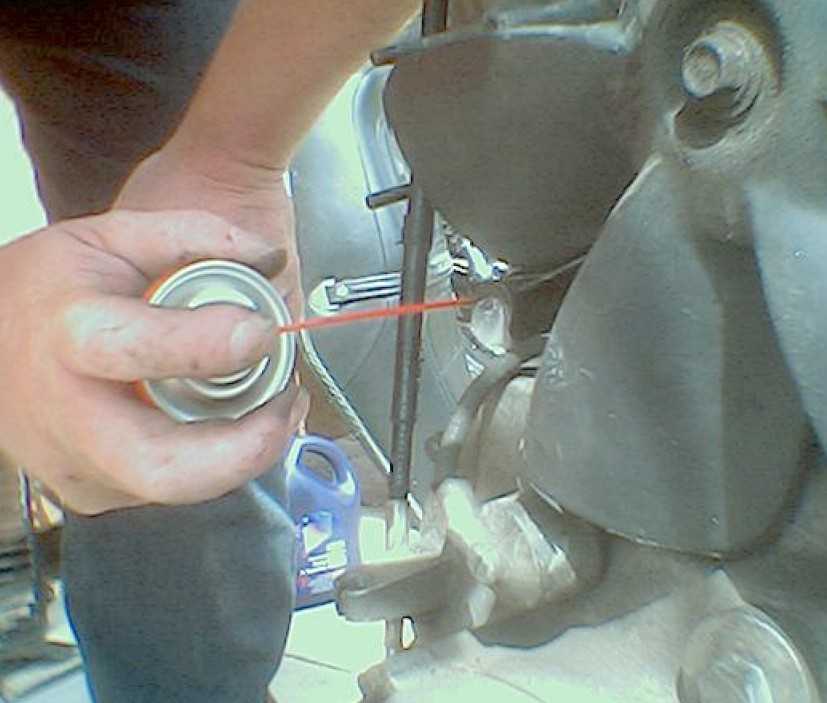
Give the hole a thorough squirt of WD40 to clear out any debris or dirt.
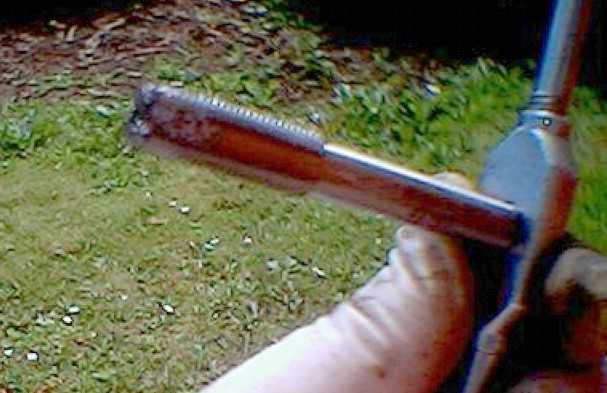
The tapping piece (left) is what you use to cut a new thread into the metal. It has a generous tapered lead-in to aid correct insertion into the damaged hole.
It is strongly advised to use a tap holding tool rather than a socket or adjustable spanner, to hold the tapping piece. This tool is a T-handled metal bar with an adjustable centre hole, shaped to clamp onto the shank of the tapping tool, and adjusted by means of unscrewing one of it handles.
The holding tool makes it much easier to keep the tapping tool correctly aligned with the original hole.
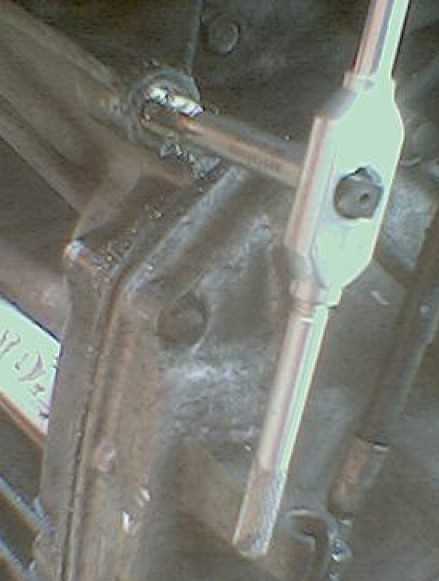
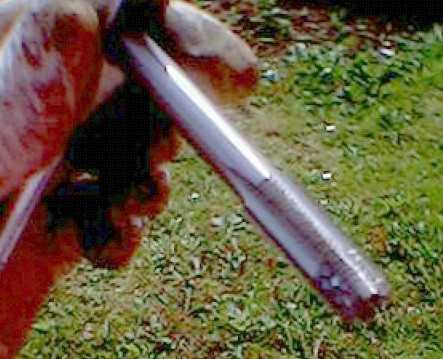
Every half dozen turns, unscrew the tool completely and use WD40 to blast off any accumulated swarf from the tool's head and body (left).
Continue the actions above until the tool has cut a thread all the way to the full depth of the hole, then unscrew it, with a turn out and a quarter turn back, until it comes free. Now squirt WD40 down the hole to clear out the debris and shavings. If you are working on an open engine, ensure that no swarf or shavings fall in.
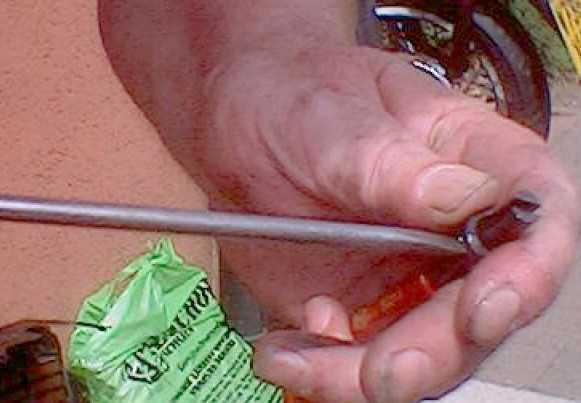
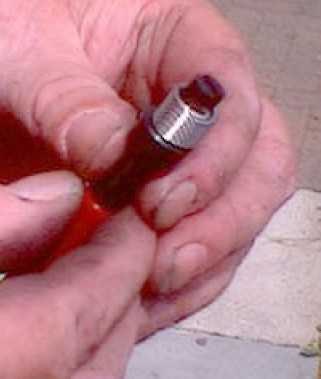
Take one of the new inserts and slide it over the end of the insertion tool (left) so that the tang engages with the slot cut in the end of the tool.
Offer up the insert to the freshly-cut hole and carefully wind it in. There is a slight spring resistance as the insertion tool does its job, and it beds the insert into the new threads. The depth collar stops you going in too far.
If you mess up, don't worry, use some pliers to pull out the spring-like insert, and start again with a new one.
When the insert is in right up to the depth collar, slacken the collar's locknut and give the insert another half turn. Then remove the insertion tool and use either the tang breaking tool which came with the kit, or a slim screwdriver, to break off the tang at the bottom of the insert. If you can, recover this tiny portion of metal from the bottom of the hole.
Now lubricate the bolt and it should screw in quite comfortably into the repaired hole. When you reassemble the bike, use whatever torque poundage was originally quoted for the bolts.
Additional Pictures (specific to this rethreading job)
Right hand engine barrel and cylinder head, showing the lower engine-to-hanger bolt hole. In this picture, the insert has just been screwed in, and you can just see the tang, which has yet to be broken off.
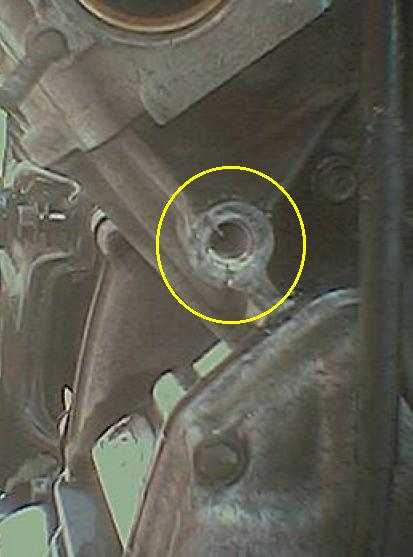
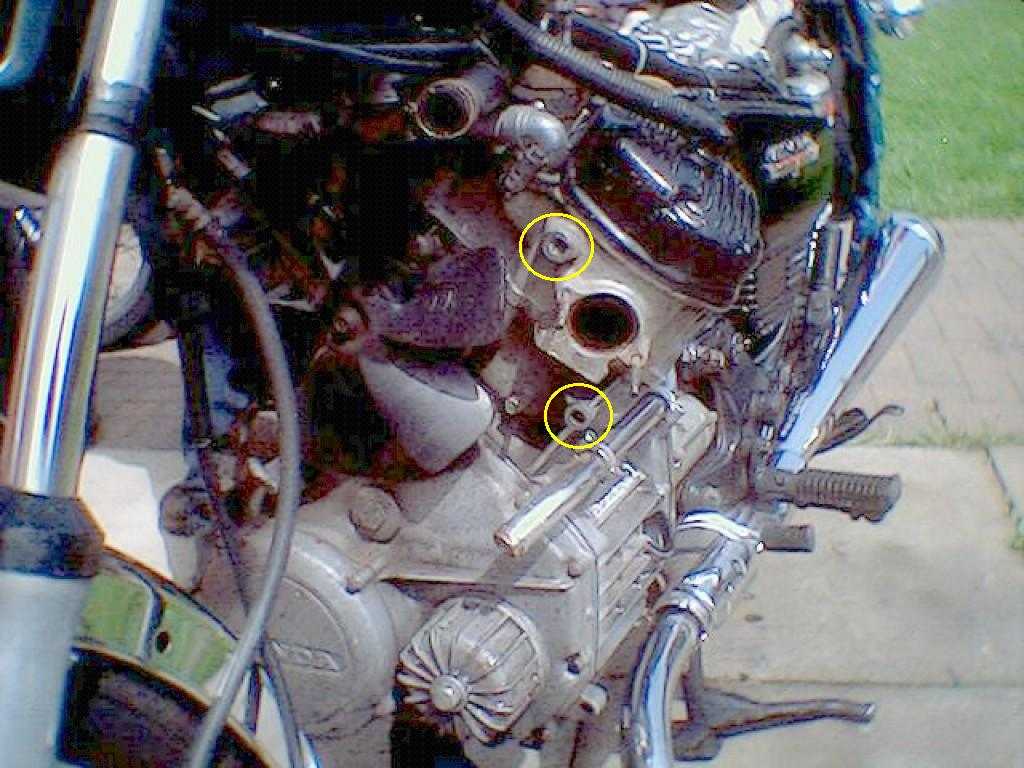
What we had to do to the bike to get at these engine hanger bolt holes on the aluminium engine.
The tank, saddle, radiator, shrouds and cowling are all removed.
The bolt holes we repaired are ringed, and we did both side of the engine; all four bolts. It seemed daft not to do all four, since two had stripped, a third stripped during the reassembly but the fourth seemed ok.
You are welcome to comment on these pages.
Thanks again to Rick for a valuable lesson; I hadn't done this job before.