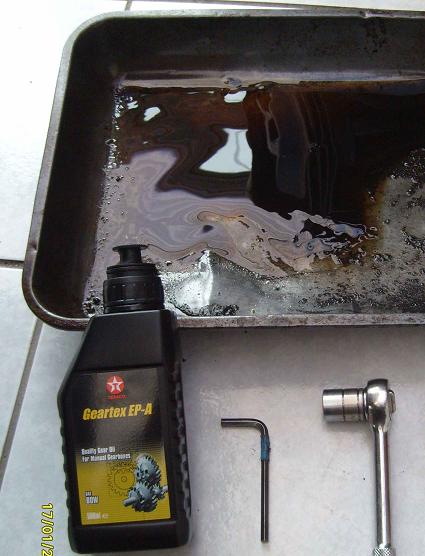
The Deauville family of motorcycles has a shaft drive which requires lubrication oil in the rear hub. Checking the level and optionally changing the oil are the only maintenance jobs you need to do. Compare this with chain drive bikes, which need regular drivechain lubrication and expensive replacement chains and sprockets.
Honda recommend that you check the oil level with every engine / filter oil change but only recommend changing the oil every 24,000 miles or 3 years. Personally, I suggest that you change the oil every year, or at the beginning of the "summer bike season". You will probably have to buy the oil in a litre bottle, so it will last you for at least 4 changes!
Take the bike for a short run, to warm the rear hub and its lubrication oil.
General view of rear final drive hub, sometimes incorrectly called the differential.
If this is your first shaft drive bike, you are in for a welcome period of almost zero final drive maintenance. No more messy chains to lubricate; no sprockets to wear out. Just miles and miles of completely hassle free riding.
For the record, the chrome 'chimney' at the top of the hub unit is simply a vent. In the case of the oil being overfilled, it escapes to armosphere via this device, which does not need any maintenance.

Place your drain tray directly underneath the drain plug.
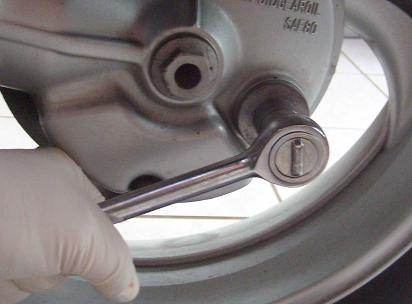
Turning anticlockwise, remove the 17mm head inspection cover. A socket or ring spanner is better than an open-ended spanner.
 the
Red Fox says : "This cover is quite soft metal and
easily damaged or cracked. If it sticks, soak in ACF50 overnight. If it
breaks or is severely damaged, note that exactly the same port cover is
used by all 250 and 400cc Dreams and Superdreams, and by all variants
of the CX500. A friendly CX owner will probably have a spare one, but
they are only about £3 new from David Silver's - this
is the part number.
the
Red Fox says : "This cover is quite soft metal and
easily damaged or cracked. If it sticks, soak in ACF50 overnight. If it
breaks or is severely damaged, note that exactly the same port cover is
used by all 250 and 400cc Dreams and Superdreams, and by all variants
of the CX500. A friendly CX owner will probably have a spare one, but
they are only about £3 new from David Silver's - this
is the part number.
I suggest that you carry one in your tail cone, as a cracked cover would mean a call to your breakdown service.
If this 17mm cover won't budge, there is additional advice on how to remove it on the 'Tappets' page, see the section on removing the crankshaft port cover.
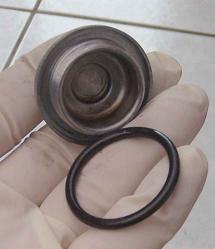
Clean the cap and check that the rubber seal isn't damaged. Replace it if there are any signs of wear.
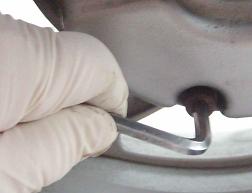
Using a 6mm hex head (Allen) key, unscrew anticlockwise and remove the drain plug.
Another useful item to keep stashed in your tail cone.
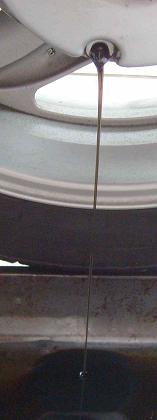
Allow all the old oil to drain out. Don't allow any oil to drip onto the rear tyre.
Some owners put the bike on its prop (side) stand, to allow better draining and to help avoid spilling oil on the tyre. However if you do this, don't forget to put the bike on the centre stand when filling the hub, to get the correct level of oil.
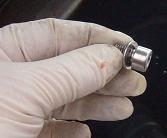
On this occasion I noticed that the drain plug was dirty and in poor condition, so I replaced it with a new capscrew and washer.
Clean the mating surfaces and replace the drain plug, tightening to 6-9 ft / lbs.
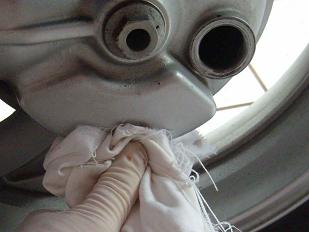
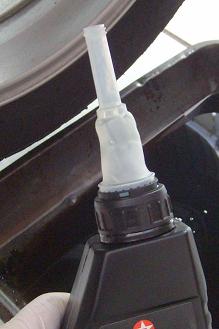
Gently squeeze in the new oil, whilst rotating the wheel by hand, to help distribute the new oil around inside the hub ...
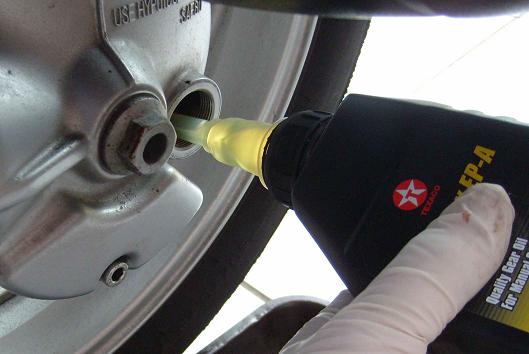
... until it just starts to drip out over the bottom lip of the port hole. When topping up the oil, this is the way that you check the correct level.
Smear a fingerful of new oil on the rubber seal and replace the 17mm cover, tightening to 6 ft lbs.
Road test and check for drips.
YOU'RE DONE! Remember to dispose of the old oil correctly - your local council tip will have a repository.
You are welcome to comment on these pages but you must manually remove the extra 'z' from the email address.